Finally got a hold of a copy of Nuke and I’m happy to report that the first test sequence of frames is rendering out as I type. Should take around 8 hours, and from there I’ll do a test IBL rendering/animation and make sure all the frames look ok. Then we’ll take care of some final color correction, removing dust and perhaps some minor sharpening, and then we are one step closer to getting the first time-lapse in your hands!
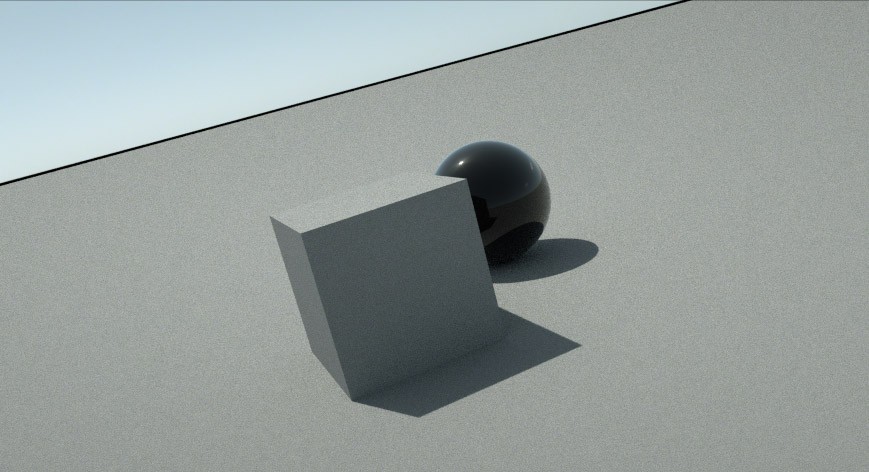
Here’s a test render from Blender Octane:

Mostly Linear Process
While I am using Lightroom to save out TIFFs, Nuke is then converting them back to linear, so once I put the brackets through Nuke in a linear input and output, I finally got the results I was after above. These HDRI frames will now hold up much better in terms of post processing and editing as they are far lower contrast. This is something I was asked for specifically by a number of testers, so I’m pleased with this!
The linear process makes IBL renders even smoother and less prone to any form of grain/fireflies. In Blender Octane at least, I’ve gone from using around 500-1000 samples to more like 150-200. Furthermore, we also get much brighter sunrise/sunset frames which is good, they were basically lost before as they got incredibly dark. You may even want to decrease your IBL strength in the morning and afternoon for some more brightness fall off.
Nuke First Impressions
Having used Photoshop my whole career, Nuke is certainly different and initially difficult to use, but I feel like from using it for only a week that I know exactly what’s going on with my images at every step of the way, which is obviously great when you’re trying to troubleshoot problems. I’m still a rank novice user, but thankfully I’ve been getting a lot of help from my friend Lorne Kwechansky, who set me up with and ran me through a lot of Nuke stuff that was highly perplexing to a beginner like myself. Lorne is the CG supervisor at Mr X and has worked on films such as Robocop and Pompeii. I’ve learned a heap from Lorne, and his input has helped immeasurably, so thank you sir!
I’ll be working with Lorne to finalize the time-lapses from here, mostly tweaking the color, and I will likely release the time-lapse samples in their current state as they won’t be changing a huge amount from now.
Workflow
As a quick overview, I’m now using the following workflow:
- Load NEFs into LightRoom
- Process metadata with LRTimelapse to account for ISO changes during sunrise/sunset
- Apply Spydercheckr color corrections, which only works in Lightroom (so I’m glad this Nuke workflow works with these TIFFs!). Lightroom still really does kick ass in terms of removing chromatic aberration and fringing too, I’m not sure there’s a Nuke equivalent.
- Export to TIFF.
- Load TIFFs into Nuke (linear), and copy in metadata
- Crop/Spherical Transform to get the lat/long format
- Merge each bracket
- Adjust gain to keep values from clipping in EXR format (65,000)
- Save out to HDR or EXR (linear). Unfortunately the EXR frames have now grown (because they aren’t broken?) so final, full day length time-lapse is now about 30 gigs.
I’ll get some how-to’s, tutorials and making-ofs out as soon as I’ve completed these much overdue time-lapses and released some samples. I’m also just triple checking with some testers that these HDRs are working 100% as intended and that they are happy with them.
Samples
Samples will be 1024×512 and will include every frame. Originally I was thinking of using double that res but only 1/3rd or 1/2 the frames, but I think its important that potential users be able to test the whole sequence in their animations/tests before buying. This is still a rather large 240 megs just for samples, and doubling res quadruples size, so I think this is pretty much the only option. I’ll also include a single, high resolution frame so you can test to see if its high enough for your purposes.
Thanks for reading as always! If you’d like to be notified of new blog posts, tutorials, making-ofs or sample releases, sign up to the newsletter here
 Hyperfocal Design
