If you’re catching up, the synopsis so far for this project is:
- I’m creating time-lapse HDR sky domes
- First series of test shots have been taken
- Initial test animations and renders look good (one sky, where the sun was behind some cloud, didn’t suffer from clipping in dynamic range. The other did.)
- My initial preference for trading dynamic range for sharpness and reduced lens reflections wasn’t shared by my testers, so I’ve adjusted my settings/workflow:
- Now shooting at f11 and ISO50 to capture entire range (at least until some hardware updates come out) Lens streaks and reflections aren’t quite as bad as anticipated, dust is!
- This introduced numerous other issues that have become delays
- Current day!
NG stitcher out, PTGUI back in
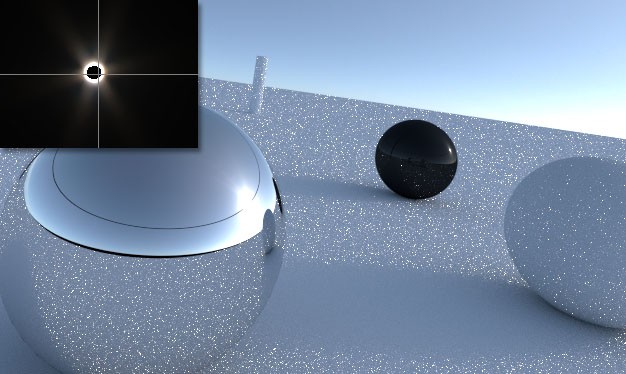
This past week I was set back a lot with skies that featured broken suns and banding in all of my most recent time-lapse HDR frames. In one of my recent posts on workflow, I mentioned that I was happy to have saved a huge amount of time in PTGUI by switching to PTStitcher-NG, a stitcher that uses CUDA for super fast stitching. I should have done some more quality testing or comparisons at that stage, because this ended up costing me almost a week discovering that in fact NG wasn’t doing a high quality job. Again, this should have been a bit more obvious in hindsight – fast usually doesn’t equal good. Then again, software like Blender gains a huge rendering speed boost from CUDA with no quality loss. I’ll have to go back at some stage and figure out if there’s a way to do quality NG/CUDA stitching, and make a post to the PTGUI group just to make sure I’m not missing something.
The end result of this loss of quality was that the panoramas weren’t blending together properly. I thought maybe something was wrong with Photomatix or maybe I had done something wrong in Lightroom. On close inspection, there was banding and noise in each bracket defished with NG, which probably created problems for Photomatix. When it tried merging to HDR, there were errors and clamping in the sun, which meant lower dynamic range, and a poor end result render.

I also made the mistake of thinking that the reason for the banding in the sky was due to an underexposed 2 second exposure at the end of each sequence. It certainly is slightly under exposed, but now that I’m rendering with standard PTGUI again, it looks quite good even when you push the HDR exposure to overbright. This eases my fears a little that the Promote Control wouldn’t quite offer me enough flexibility to capture the whole sky. But then again, I’m still yet to try deflickering an entire time-lapse HDR shot at f11 (any timelapse that isn’t shot wide-open creates flickering due to imprecise opening of the shutter diaphragm). If I could shoot each bracket with the Promote at f3.5 and then stop down once I reach 1/8000th, then I’d perhaps reduce flickering. Of course, the stopped down brackets would still require deflickering as well, so it might not make a huge difference. I’ll report on that shortly!
Improved results
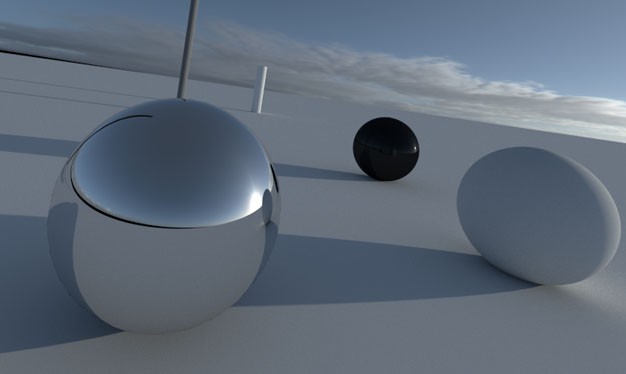
So I’ve since changed my workflow to being completely PTGUI based for de-fishing and merging to HDR. I was originally thinking that PTGUI was mostly a stitcher, but the results I’ve had using its HDR blending so far have been great, with no artifacts or errors.
The side benefit is we also skip storing 8-10 brackets of TIFs which are monstrous, but the whole process is now back to being very long – around 5 minutes to make one complete HDR frame, which means an entire panorama will take about 35 hours just for these 2 steps.

Now for some LRTimelapse action
Now that these new maxed out dynamic range images seem to be working, I’m on to the next stage, which will be interesting. Deflickering a single bracket for a timelapse is one thing, but deflickering each bracket might be another. I’m unsure how the results will go with each bracket being deflickered separately! While deflickering per bracket is possible in LRTimelapse, I may have to end up separating each set into its own folder due to the sheer number of images I’m working with.
I’ll then grade the white balance from the first capture to the last (this is the easiest part), and also try to account for the large jumps in exposure when I adjust ISO mid shoot in order to capture dwindling light levels. This might be part of the de-flicker process, I’m not sure yet. I’ve used LRTimelapse a bit now to grade white balance, but nothing else. Should have a comprehensive tutorial/making-of with that once I gain some more experience with it.
If you’d like to follow along with this making of, please sign up to the newsletter, where you’ll get notified each week of the latest posts, tutorials, and sample images.
 Hyperfocal Design
